Showing posts with label washi tape. Show all posts

Monday, February 10, 2014

DIY valentine for kids

I can't believe it is Valentine's Day this Friday. We spent the weekend working on some Valentine cards for my boys to pass out at our family Valentine party. These are super easy, and the perfect craft to get your kids involved in. Supplies you will need:
Cardstock
Glue
Googly eyes
Pipe Cleaners
Scissors
Suckers
Washi tape
Marker
I traced the hearts, mustaches, and hats. We then worked together to cut them out. You could use a cutting machine for this too. However, a great way to get your kids involved is to have them help cut out the pieces.
You can choose any paper color or pattern that you want. We decided to use red paper and bright pink pipe cleaner.
After we cut out the shapes, we glued on the eyes, hat, and mustache.
Next we cut the pipe cleaners. The easiest thing to do is to fold it in half, then cut it. One half is for the arms, the other is for the legs.
I used tape to secure the legs and arms to the back of the heart. I think it worked better then glue. :)
Here is the finished little guy. I secured the sucker by wrapping the stick around the pipe cleaner. You could use a pencil too instead of giving out candy. I used washi tape to make the flag, where I could write my son's name. 
These are really easy to make. They would be perfect for a class project too! If you are looking for a tween Valentine idea you can check my post from last year here.
Hope you have a wonderful Valentine's day and are able to spend some quality time with the ones you love. Thanks for stopping by my blog.
XO~Gretchen

Sunday, February 10, 2013

DIY Valentine for Tweens

So this weekend my 11 year old son, Noah, and I worked on his class Valentines to hand out. We wanted to come up with something original, and fun. At his recent Christmas class party, we made a photo booth for the kids, and they loved all the props, so I thought it would be fun to make glasses, similar to the ones we used in the photo booth. The tough part was coming up with a clever little saying to attach to the glasses that would be gender friendly.
Supplies you will need....
1. Card stock- whatever colors you want. We chose bright florescent card stock.
2. Sticks-I found these in the candy making isle at Michaels. I think it would also be fun to use pixie sticks.
3. Embellishments-we added little sticker rhinestones to the glasses for the girls.
4. Washi tape-added this little detail on the tags
5. Scissors, glue stick, glue gun.
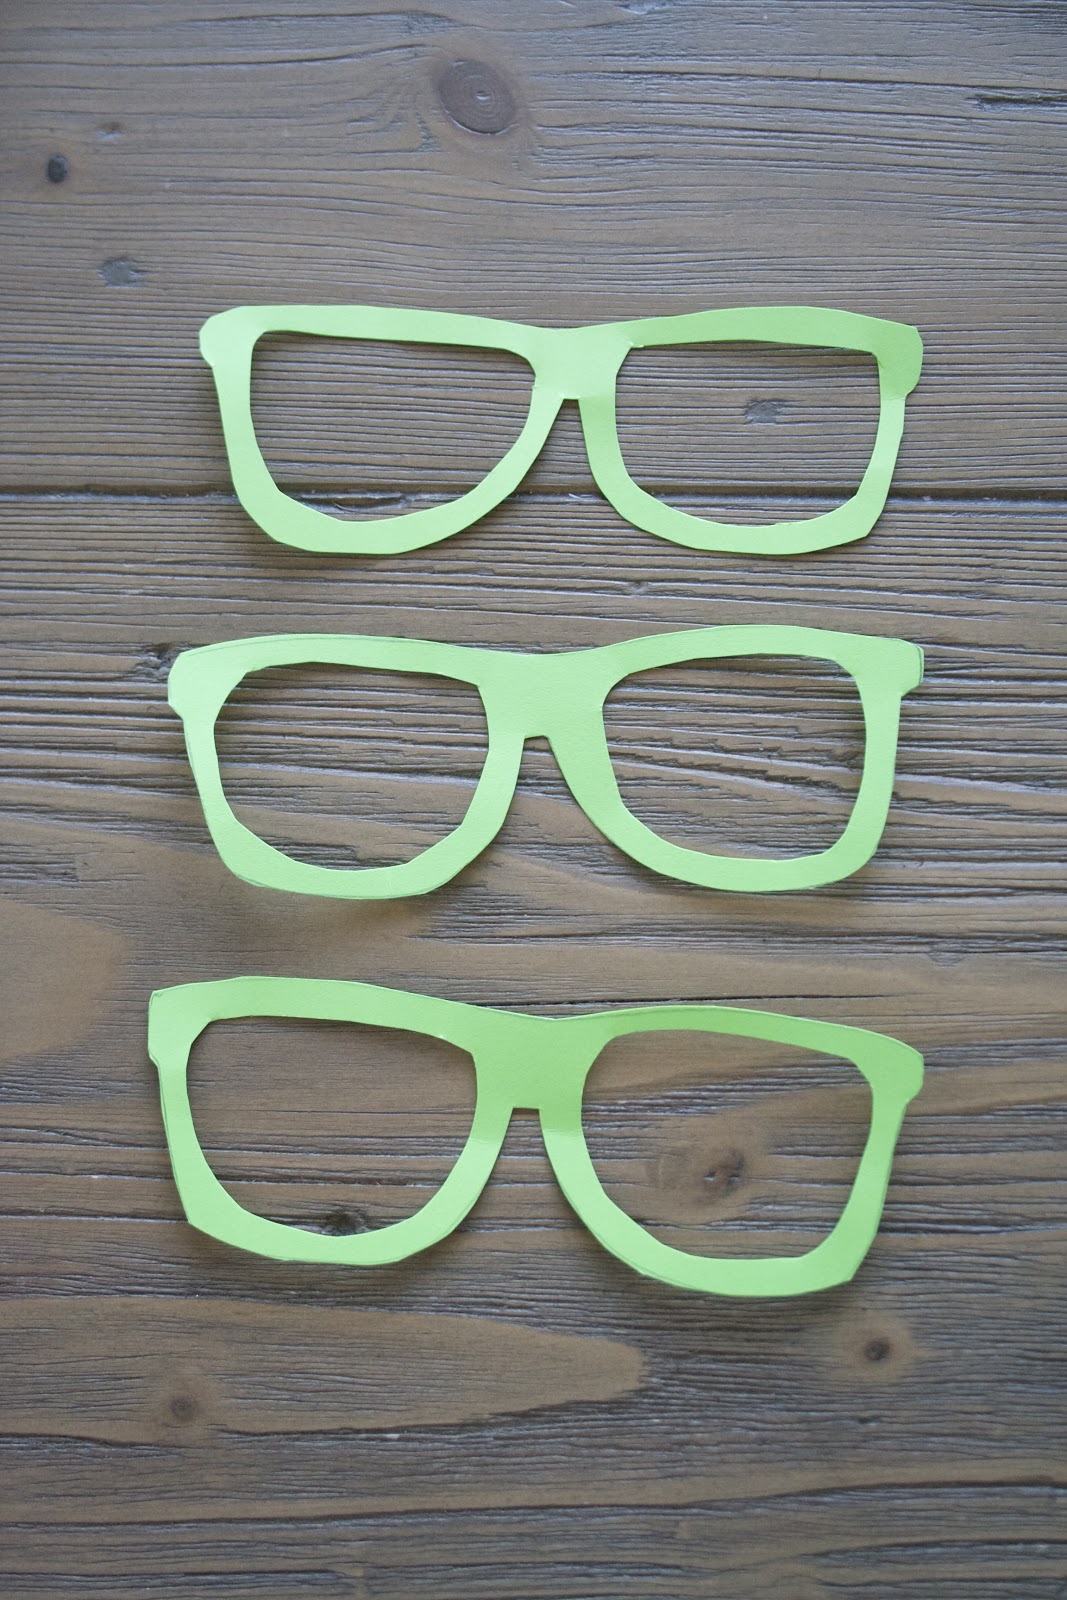
First, I traced out glasses on my card stock. I just did it free-handed. I could fit 7 per piece. Then I had my son, help cut them out.
You end up with something like this, once you get them all cut out.
Here are the various colors we chose.
Next we added some bling stickers to the glasses for the girls.
Fired up the old glue gun, and glued the sticks on the back.
Then I printed off my little tags. I made these on my computer. Just found a font I liked then made a sheet of them to print.
Used the handy glue stick, and rolled the tag around the stick.
I love using washi tape, and so I added this little flag detail on the end. You can find washi tape online, or at your local craft store. Beware, it's addictive!
All done, and ready to package up with some candy! 
Hope you found this to be an easy DIY craft to do with your tween. Other ways to use these would be in a photo booth, or a birthday party invite. Wouldn't it be cute to send these out, and say "hope to see you at my party" The options are endless. 
My middle son, Noah, who helped to create these for his class.
Hope you have a great Valentines Day!
XO~Gretchen


Thursday, December 27, 2012

Holiday Dinner Party

For almost 20 years now, my girlfriends from high school and I have gathered together during the holiday season. And for most of those years I have had the pleasure of hosting the dinner party. This year was extra special because it was our first year in our new home. I wanted to share with you some of the photos from the evening, and where I purchased some of the beautiful things I used to make a glittery tablescape.
We have a large farmhouse table, which works out well to accommodate a larger dinner party. I also have an eclectic grouping of chairs that I use. The table came Arhaus Furniture, some of the chairs also came from there, and some came from Overstock
These are my new plates that I got at a local boutique called Rabbit and the Moon. The plates are by the company Rosanna. The name of the plates are "A Walk in the Woods" I really adore these plates. They come in a set of four.
At the center of my table I placed a silver tinsel tree with a collation of vintage ornaments. I decided to use the pink ornaments since it was a gathering of my girlfriends.
On my buffet I put my collection of Cody Foster glittery Christmas houses. I adore these houses and all the little details on them. They truly make a magical scene. 
This was a banner I hung on the window using washi tape, just a remainder about the season.
I made each of my girlfriends a personalized ornament with their initial, and used these as place cards.

I placed a little birdie paper clip on each of the napkins for some added whimsy.

Friendships should be treasured, especially those that have lasted decades. Hope that you feel inspired to host a dinner party for your friends, and may you have a wonderful new year! Looking forward to blogging more in 2013!
XO~Gretchen