Showing posts with label bottle brush wreaths. Show all posts

Tuesday, December 3, 2013

Vintage inspired Christmas mantel


Do you ever decorate on a wing and a prayer? Well that's what I did this year for my mantel. I had all these ideas swimming around in my head, but how in the world was I going to make it work? Originally I was going to go with creams, golds, silvers, and of course a little aqua, but I had been eyeing these stockings from Anthropologie, so I was inspired to add a little more color. I thought about making something similar myself, but since the entire store was 20% on Black Friday, I opted to purchase them. I am so glad that I did. They are made really well, and I love the wool and pom poms they used to make them. So I started by hanging the stockings. Luckily, I had just made a pom pom garland for a christmas card photo shoot, in the color scheme of aqua, cream, and red. I added the garland, but felt like I wanted another layer. I dug through my Christmas decor and found this cute tinsel garland with snowmen, and snowballs on it. I had found it at TJ Maxx a few years back. Never underestimate reusing decorations you might already have on hand. The only "new" purchases for my mantel this year were the stockings, and the amazing vintage pipe cleaner wreath. I found the wreath antiquing with my mom, and I love how it looks against the frame. Everything else I already had. :)
The chalk art sign took some time, and some "do-overs" I looked for inspiration on Pinterest for the lettering. There is some really amazing chalk art out there. I wanted to chose something fairly easy, and simple. JOY to the WORLD is one of my favorite Christmas songs, it is the reason we celebrate the season. I usually keep this chalkboard in my studio, and keep an inspirational phrase written on it, but brought it out for my holiday mantel this year. All the "fluff" on the side is stuff I have collected over the years. I am definitely one of those people that if something really speaks to me, than I purchase it. I may not have a place in mind for it, but I will eventually find a spot. I love my little vintage plastic Santa. The silver trees I had purchased a few years back at Hobby Lobby, I'm sure they have something similar again this year. The bottle brush trees, I have been collecting for years. You can make your own version, just check out this blog post I wrote about it. I have also been collecting the open frames while out antiquing, and I just painted them all aqua, of course. The vintage globe I found this summer, and I adore it. I thought it was appropriate since my sign said "JOY to the WORLD." So as you can see, things just started to naturally come together. I like to get all my decorations out, so that I can see what I have to work with. I suggest, coming up with a color scheme, and just running with it. Think outside the box, and have fun with it. I really love our mantel so much this year, I find myself sitting in our family room at night, enjoying every element of it. Hope you feel inspired to create a mantel or book shelve in your nest this year. I'll be back soon, with other Christmas decorating ideas, until then...
XO~Gretchen 

Sunday, November 24, 2013

DIY Advent Calendar


So, I have been pinning all these adorable advent calendars since last year, and this year I decided to make one myself. I love the idea of having my boys open a little gift every morning. We have done advent calendars in the past, they were pre made ones that I have found at the store, but I wanted mine to be unique and special. I'll give you hints of what I filled each day with later in the post. First, I will list the supplies that I used.
1. Scrapbook paper
2. Double sided tape
3. Scissors
4. Glue gun
5. Twine
6. Trims, washi tape, stickers, clip art
7. Clothes pins
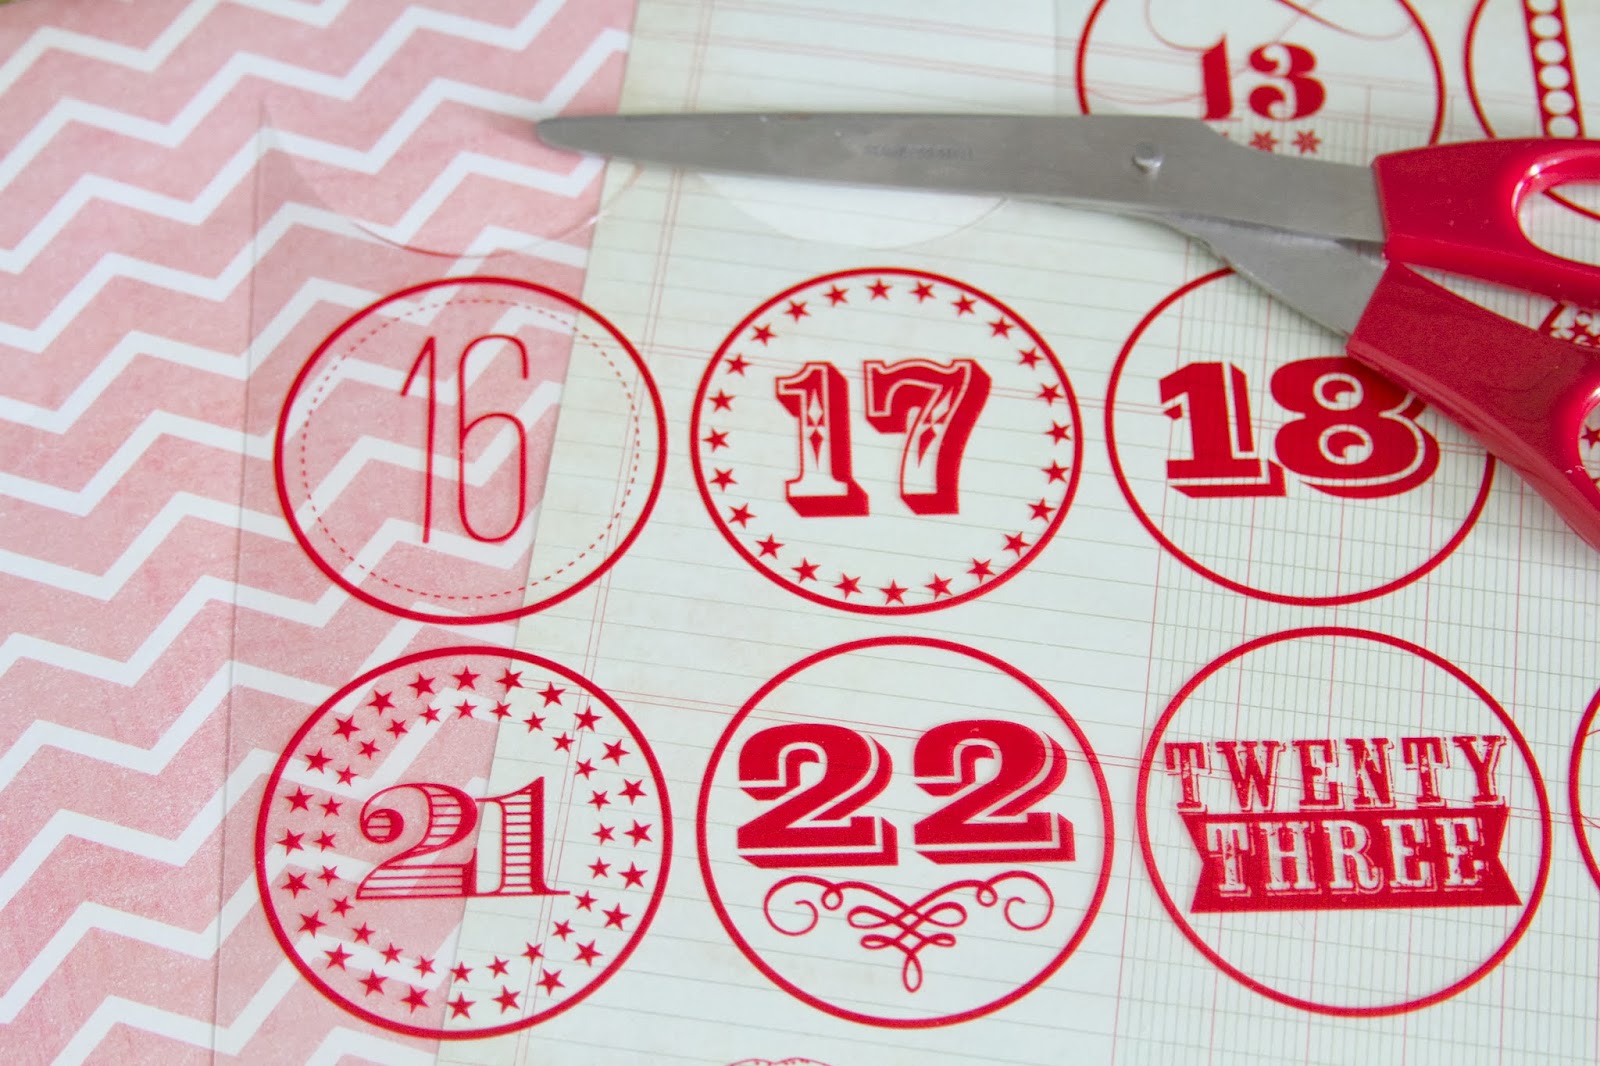
I found the number vellum paper at Archivers Craft store. I'm sure it would be easy to make your own numbers too! All the other supplies I had at home, I kinda hoard craft supplies ;)
Making the envelopes out of scrapbook paper was pretty easy. I just fold the 12x12 sheet in half. Next I   folded the paper into 3 sections.
Then I cut the paper so that I had 3 separate pieces. Once this was done, I folded each piece in half. This made the envelop. I simply then left the top open, and used double sided tape to tape up the sides.
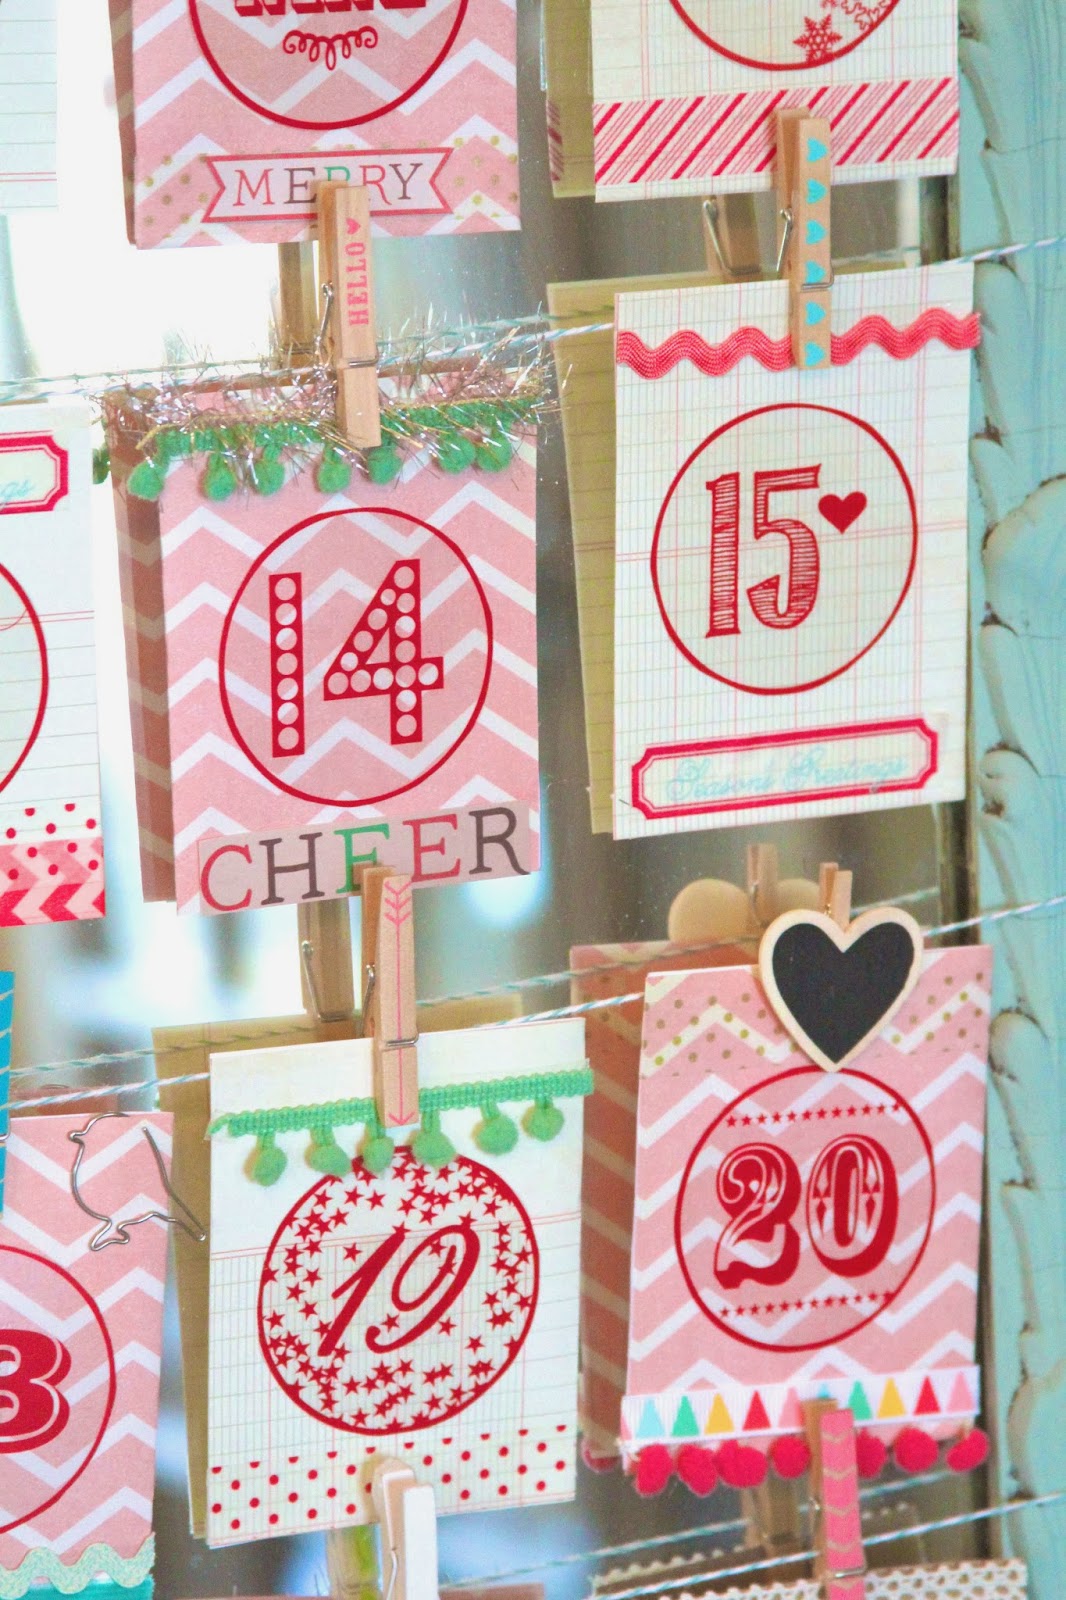
Once the envelopes were made, it was time to decorate them! This is the part where you can get really creative. 
I cut out all of the dates December 1-25th.
Then I began to decorate each of the envelopes individually. 
I found these little wreaths at Michaels Craft Store, I thought they added a fun touch to some of the envelopes.
Once I finished decorating all 25 of the envelopes, they were ready to be strung. I will say that I worked on this project over several days. I do not think it's a quick and easy project, so be sure to give yourself ample time if you want to start your calendar on December first this year. 
I have several vintage open frames, but none of them seem to be the size I wanted/needed to make my project work. So I went on the hunt down in our basement. I came across a gorgeous mirror that I had painted aqua. I had not found a place to put it in our home yet, and I worked out to be the perfect size. I would recommend checking out the size of your mirror/open frame first, then making your envelopes to accommodate that size. I just happened to luck out ;)
I used my aqua and cream twine, and ran four rows across the back. Each row has five envelopes. Once I secured the twine tightly, I started assembling my advent calendar. I used clothes pins, that I had been collecting, to clip each of the envelopes. Voila' It is finally finished, now I just need to put something in each one. Some ideas that I have, without giving out the surprises are, little lego guys, candy, a dollar bill, and each day I will put in there a special heartfelt message for my boys. I thought it would be nice to write little reminders of why they are special, and give them encouragement to participate in Christian acts that day. Because, after all, Christmas is about spreading love and joy! For example, one message may say. "Sit by someone new at lunch today" "Tell your teacher how much you appreciate them" 
So there you have it! That is my advent calendar. I am really looking forward to this tradition this year, and continuing it on for many years to come.
May your days be merry and bright, and may the joy of the season be ever in your heart! Thanks for stoping by.
XO~Gretchen