

1. Scrapbook paper
2. Double sided tape
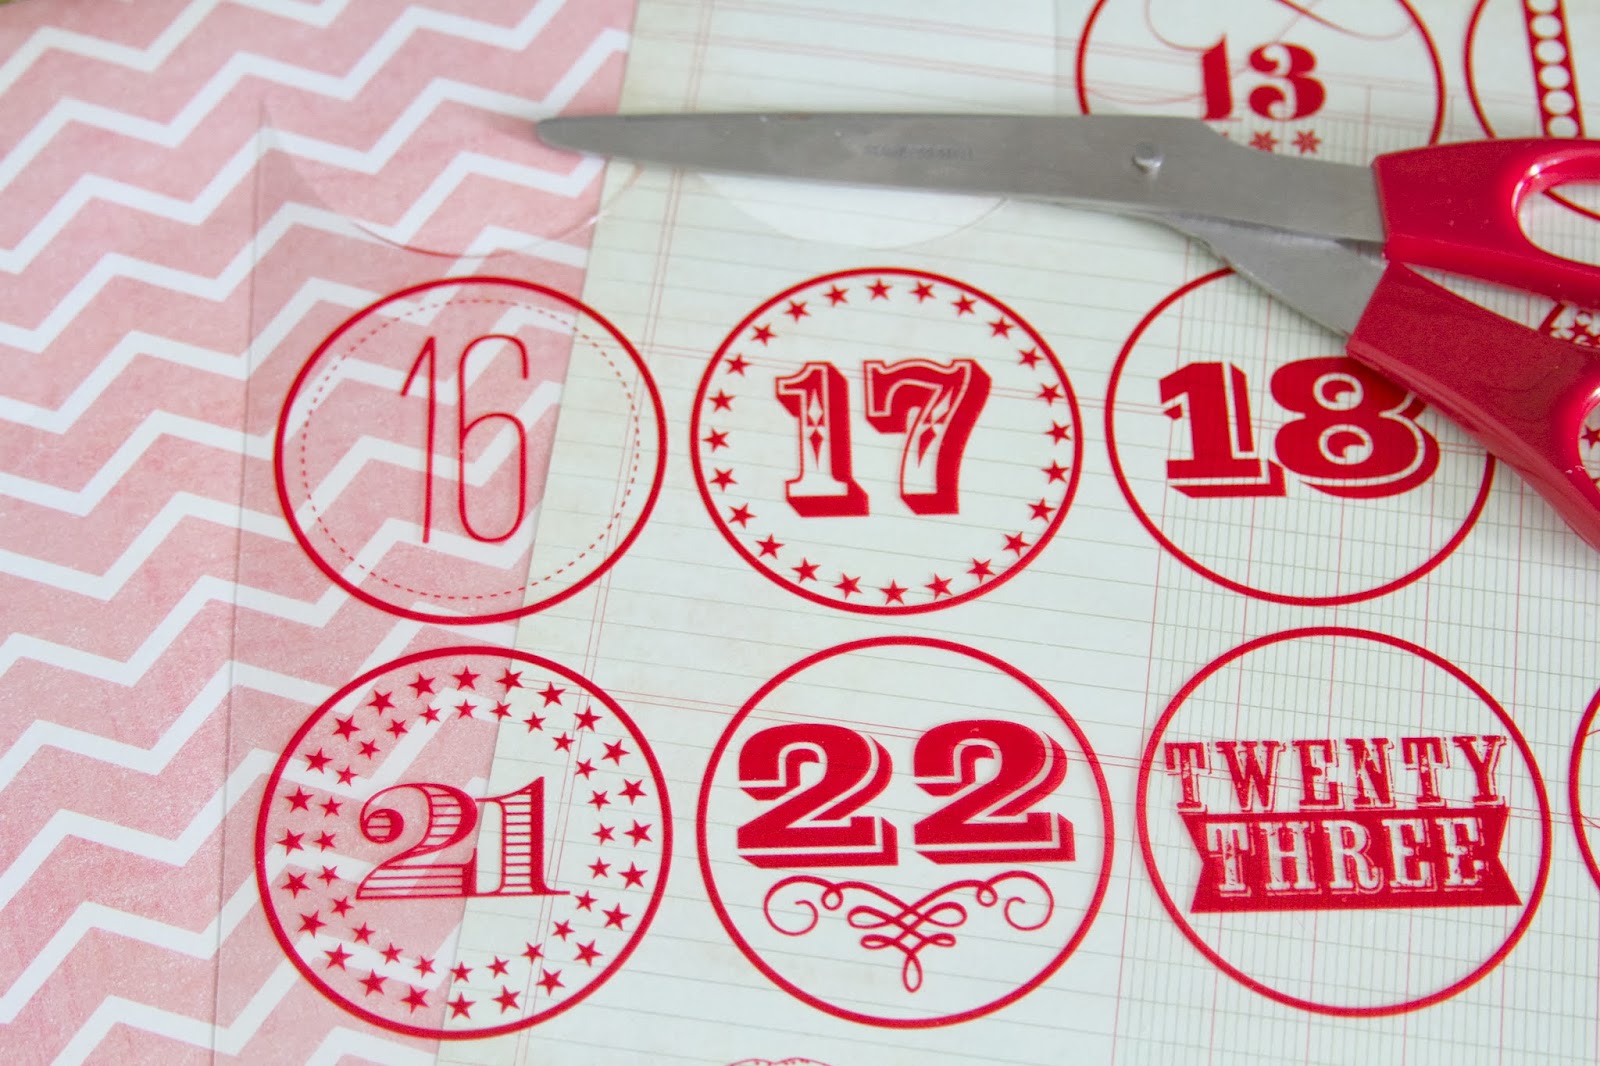
3. Scissors
4. Glue gun
5. Twine
6. Trims, washi tape, stickers, clip art
7. Clothes pins
I found the number vellum paper at Archivers Craft store. I'm sure it would be easy to make your own numbers too! All the other supplies I had at home, I kinda hoard craft supplies ;)
Making the envelopes out of scrapbook paper was pretty easy. I just fold the 12x12 sheet in half. Next I folded the paper into 3 sections.


Then I cut the paper so that I had 3 separate pieces. Once this was done, I folded each piece in half. This made the envelop. I simply then left the top open, and used double sided tape to tape up the sides.

Once the envelopes were made, it was time to decorate them! This is the part where you can get really creative.
I cut out all of the dates December 1-25th.
Then I began to decorate each of the envelopes individually.

I found these little wreaths at Michaels Craft Store, I thought they added a fun touch to some of the envelopes.


Once I finished decorating all 25 of the envelopes, they were ready to be strung. I will say that I worked on this project over several days. I do not think it's a quick and easy project, so be sure to give yourself ample time if you want to start your calendar on December first this year.
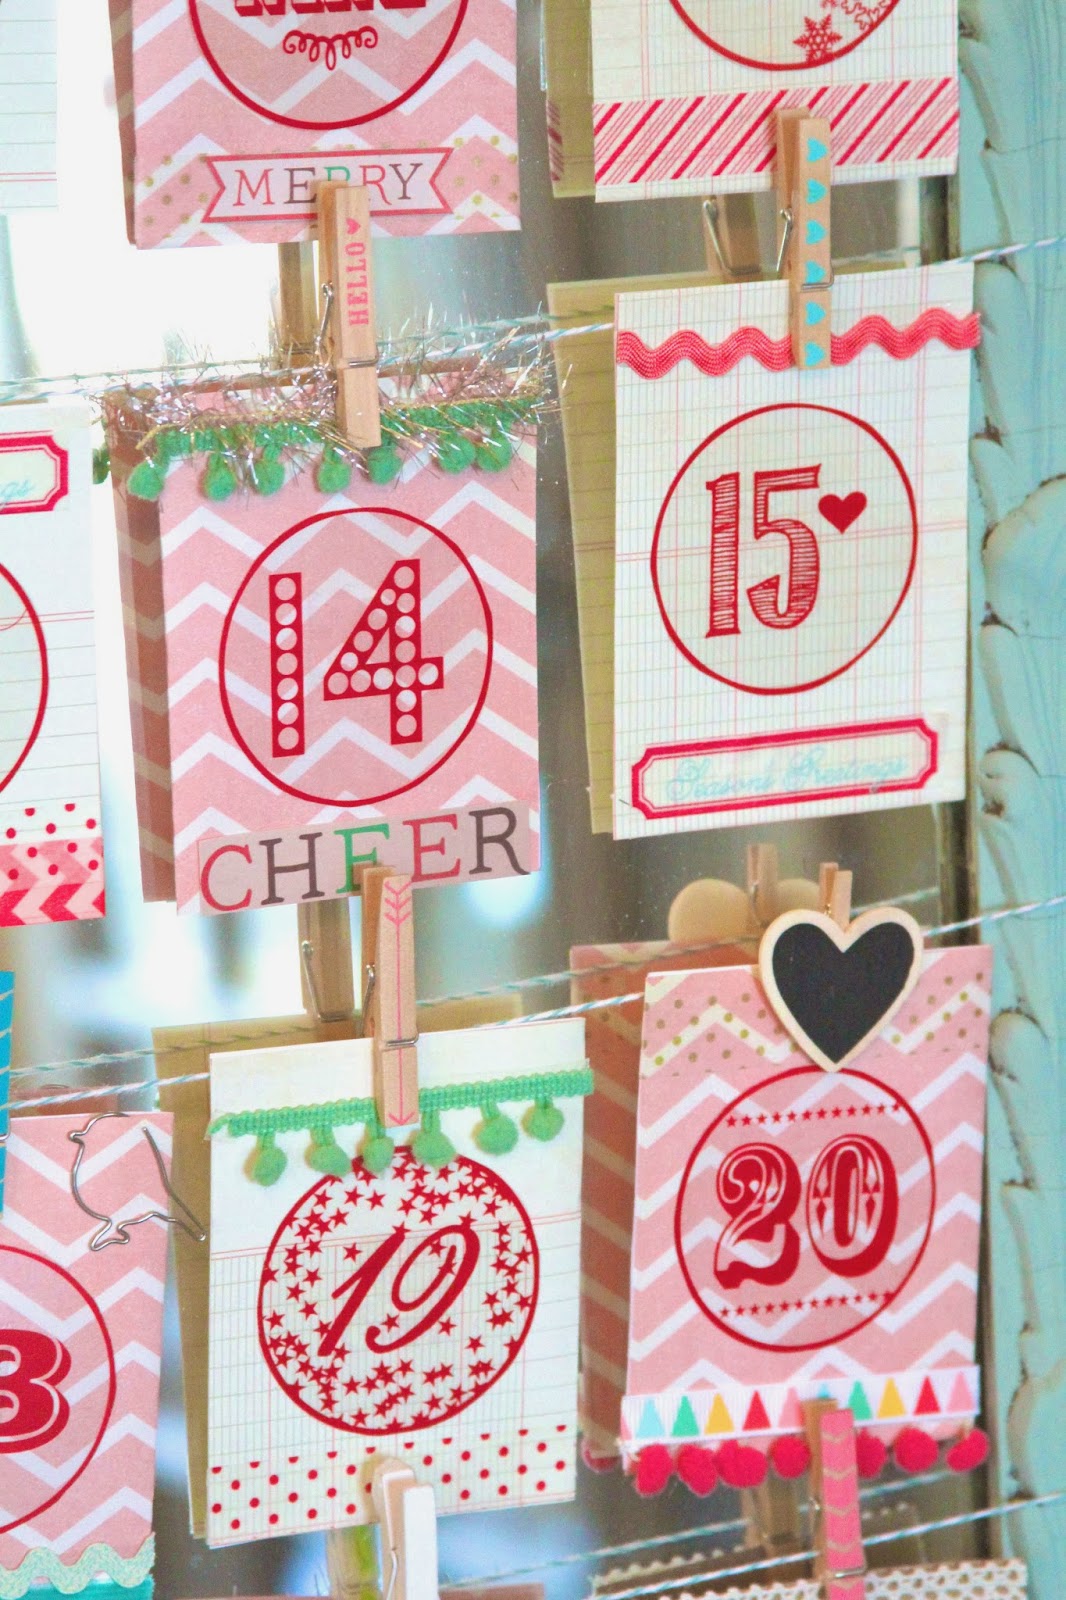
I have several vintage open frames, but none of them seem to be the size I wanted/needed to make my project work. So I went on the hunt down in our basement. I came across a gorgeous mirror that I had painted aqua. I had not found a place to put it in our home yet, and I worked out to be the perfect size. I would recommend checking out the size of your mirror/open frame first, then making your envelopes to accommodate that size. I just happened to luck out ;)
I used my aqua and cream twine, and ran four rows across the back. Each row has five envelopes. Once I secured the twine tightly, I started assembling my advent calendar. I used clothes pins, that I had been collecting, to clip each of the envelopes. Voila' It is finally finished, now I just need to put something in each one. Some ideas that I have, without giving out the surprises are, little lego guys, candy, a dollar bill, and each day I will put in there a special heartfelt message for my boys. I thought it would be nice to write little reminders of why they are special, and give them encouragement to participate in Christian acts that day. Because, after all, Christmas is about spreading love and joy! For example, one message may say. "Sit by someone new at lunch today" "Tell your teacher how much you appreciate them"
So there you have it! That is my advent calendar. I am really looking forward to this tradition this year, and continuing it on for many years to come.


May your days be merry and bright, and may the joy of the season be ever in your heart! Thanks for stoping by.
XO~Gretchen
No comments:
Post a Comment
Thank you for stopping by.