

Here is a list of the supplies that you will need:
Cardboard letters (I found mine at Joann Craft Store)
Orange lights (Found at Michaels Craft Store)
Black paint
Paint brush
Plastic Spider (found at Michaels Craft Store)
String
Drill
Tape
Box cutter


The first step is to paint the letters. I painted them black, and decided to go with the traditional black and orange theme for Halloween.

It took two coats of the black paint.
After I allowed the paint to dry, I then cut the backs of the letters out. I did this so that it would be easier to poke the holes through, and I would have a place to hide the lights in the back.

Next, grab your drill to make the holes for the lights. I goofed and made my holes a little too big, however, I was able to fix it with a glue gun. I added a dab of glue around each hole so that the lights would sit securely. Problem solved, after sweating it out for 30 minutes ;)

Once you feed the lights into each hole, and make sure they sit securely in there, then you can put the extra lights and wires hidden in the back of each letter. I used 2 boxes of 50 count orange lights. The trick is to make sure that the letters sit really close together so that you don't see the string of lights in between.

I also added a spider's web to the middle O. I simply taped the twine on the back of the letter into a web pattern, and hung the spider.
There you have it! I created these same letters, on a much larger scale last year spelling out the word LOVE. You can find that blog post here.
So here is what my Halloween mantel looks like with the light up BOO letters.

A lot of the mantel decor I already had. I'm a big fan of using what you have, when you can. :) I purchased the banner last year at Target. They have some other great ones this year too, and if not then get out your cutting machine and make up your own! I used my handy dandy chalkboard. The inspiration for the drawing came from here.
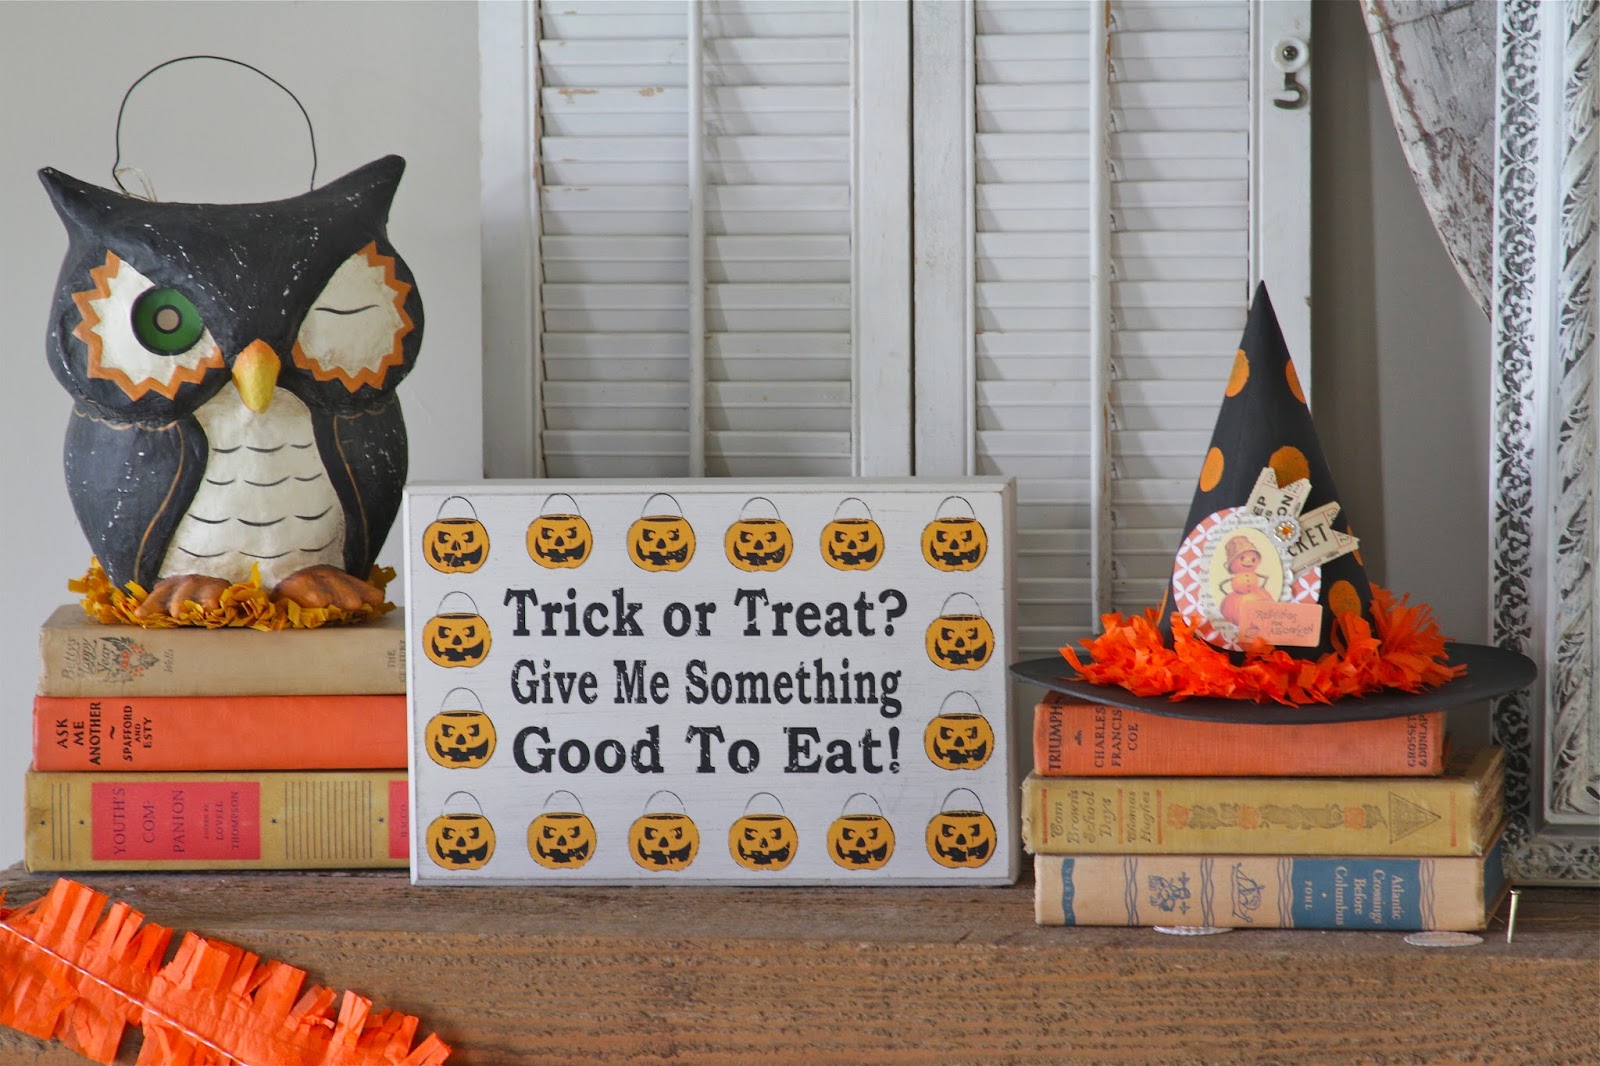
I used some of my old vintage books that I collect to add some height. The owl and the trick or treat sign came from good ol' TJ Maxx a few years back. I made the cut out pumpkin with my Cameo Silhouette. Here is the pattern.
I added the yarn pom poms to my banner. The shutters I've have, and they worked out to be a great place to hang some spooky spiders from. And lastly, I made the witches hat, and I have an easy tutorial coming soon, so you can make one too!


There you have it! Hope you feel inspired to add a little Halloween to your nest. Thanks for stopping by.
Until next time...
XO~Gretchen
No comments:
Post a Comment
Thank you for stopping by.