Friday, May 17, 2013

Annie Sloan Chalk Paint

Since we have moved into our new home, I have been struggling with getting my studio space organized. I have lots of cabinets, however they are not very deep. For awhile I had a small table in the space, but it just turned into a "dumping ground." When I am working, I tend to just work at my desk area, and I rarely used the table. Maybe because it was full of stuff all the time. One of my goals for this year was to get myself organized. I am lucky to have my own space to work in, and honestly I hated going in there sometimes. The older that I get, the more clutter seems to annoy me. I didn't want to buy any furniture, so I did some pondering. We had been given this light wood dresser over ten years ago. It served it's purpose in my oldest son's bedroom for some time. Eventually he inherited our nice dark wood furniture once we got some new pieces. Honestly, I am not even sure why we kept it. However, it functions well, fit perfectly on my studio wall, and has deep drawer storage. It was a winner, and it was FREE! Now what color was I going to paint it? It is really hard for me to think outside of the aqua color scheme, but I have been recently enamoured with shades of kelly green. So, I decided to try the Annie Sloan Chalk Paint color called Antibes green. Worst case scenario, I'd paint over it if I didn't like it.
My favorite thing about using this paint is that there really is no prep work. I just wiped the piece down with a wet cloth to make sure that all the dust was removed.(it had been in the basement for a while) No sanding necessary :) When I am painting using this product I like to apply thin coats. I do this because the paint dries fairly quickly this way. I was able to get two coats in before I had to pick my boys up from school. The next morning I applied the last coat, so three coats total. By that evening I applied the clear coat wax. This was a two day project for me. I am so pleased with the results. I decided to use a collection of knobs. I loved some knobs from Anthropologie, but they were $8 each. I was going to need sixteen, so you can see how that can add up quickly. I found the other knobs at Hobby Lobby, and luckily they were 50% off. :) So I got the remainder of the knobs for between $2.50-3.00 Which is much more reasonable when you have to buy so many. I really like the collection of knobs, it's perfectly imperfect.
The first layer going on.
one coat on
What a difference a little paint and some new knobs makes :)
The Anthropologie knobs
knob from Hobby Lobby
I love having a place to display my vintage typewriter.
My vintage suitcase, perfect for additional storage.
I also collect vintage tins which I use for storing things.
Peony from my garden :)
Voila' the finished product in my studio with my inspirational wall above it. If you live in Louisville you can purchase the Annie Sloan Chalk paint from Vintage Style and Designs. Hope you feel inspired to create something special for yourself. And never underestimate the beauty in an old piece of furniture ;).
XO~
Gretchen

Thursday, March 21, 2013

Springtime decor

Hi everyone, and happy Spring! It's finally Spring, or so the calendar says, but it definitely doesn't feel like it here in KY. It's still really cold, and everyone is ready for a change of season around here. If you know me, then you know that Winter is my least favorite season. If it weren't for Christmas, I really might hibernate. So this year, since it's been cold and dreary out, I needed something to inspire me for Spring. I decided to take an online class from a friend called Spark Your Spring! My friend Margie taught it, and it was just the class I needed to add a little sunshine in my life. I wanted to share with you some of the things that I made for our home this Spring, and how I decorated. Hope you will feel inspired to "Spark your Spring" and let's pray that Spring comes soon!
XO~Gretchen
Some of the supplies I used for the tiny garland


I made these little baskets


The garland I made for my mantel, and yes that's my favorite aqua chandelier.


Thursday, February 14, 2013

DIY Tissue Flowers

I recently helped to decorate our school's gym for a Father/Daughter Dance. As with any school function, there was a budget. So one of the most economical ways to decorate is with tissue paper. So, a group of us moms made over 60 of these large tissue flowers. I was asked by several people how we created them, so I am giving you a step by step how-to. :)
Supplies needed.
1. Tissue paper
2. Wire or pipe cleaners
3. Scissors
First, you will need to decide what color you want your flowers to be. Once, you have that decided you will need to gather 12 pieces of tissue paper. If you want your flowers to be multicolored, then choose 8 of one color, and 4 of another.
Then stack the tissue up evenly. You are then going to fold it back and forth, creating a fan pattern. Like this....
You will then end up with something that looks like this...
Place the wire, or pipe cleaner in the center.
Next, you will cut the edges to soften them, and help them look like petals.
You can round the edges, or cut them at an angle. Either way will work. 
The flower will then look like this.
Next, you will start to pull each of the pieces up one by one.

The end result will look like this....
This can be made smaller, by just cutting the sheets into smaller pieces. We ended up spraying some glitter on them for the dance. They were a big hit with all the little girls.
Hope you find this tutorial easy to follow. 
XO~Gretchen

Sunday, February 10, 2013

DIY Valentine for Tweens

So this weekend my 11 year old son, Noah, and I worked on his class Valentines to hand out. We wanted to come up with something original, and fun. At his recent Christmas class party, we made a photo booth for the kids, and they loved all the props, so I thought it would be fun to make glasses, similar to the ones we used in the photo booth. The tough part was coming up with a clever little saying to attach to the glasses that would be gender friendly.
Supplies you will need....
1. Card stock- whatever colors you want. We chose bright florescent card stock.
2. Sticks-I found these in the candy making isle at Michaels. I think it would also be fun to use pixie sticks.
3. Embellishments-we added little sticker rhinestones to the glasses for the girls.
4. Washi tape-added this little detail on the tags
5. Scissors, glue stick, glue gun.
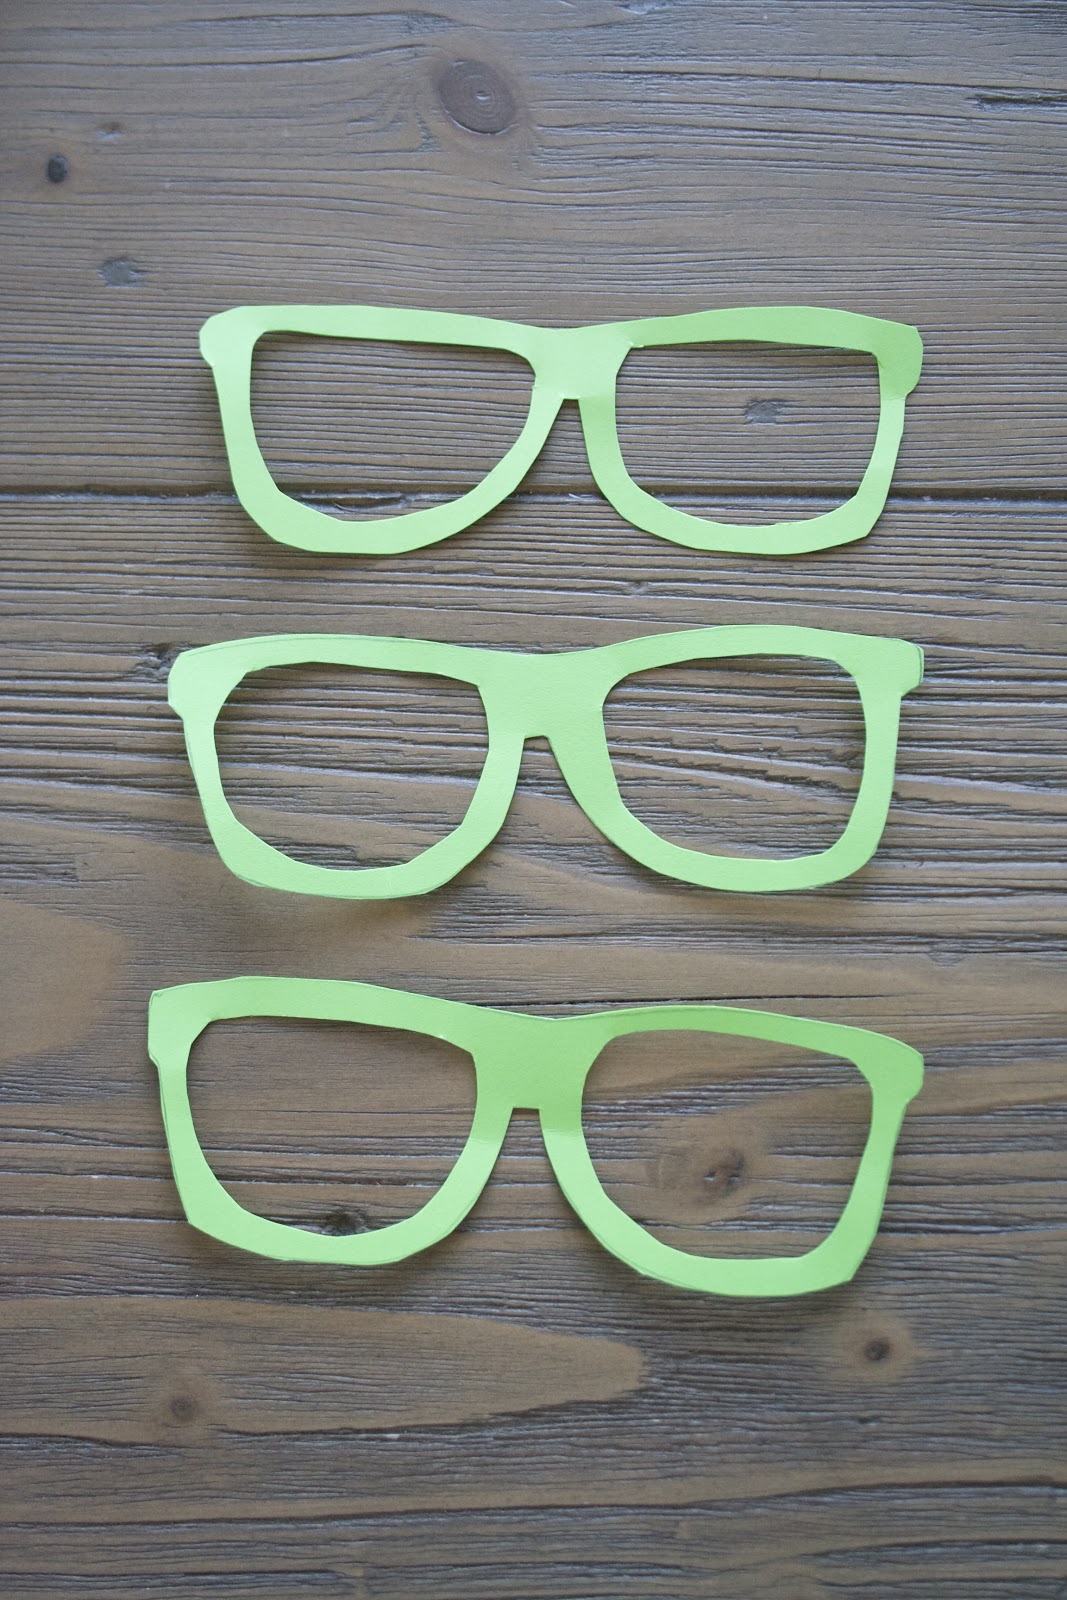
First, I traced out glasses on my card stock. I just did it free-handed. I could fit 7 per piece. Then I had my son, help cut them out.
You end up with something like this, once you get them all cut out.
Here are the various colors we chose.
Next we added some bling stickers to the glasses for the girls.
Fired up the old glue gun, and glued the sticks on the back.
Then I printed off my little tags. I made these on my computer. Just found a font I liked then made a sheet of them to print.
Used the handy glue stick, and rolled the tag around the stick.
I love using washi tape, and so I added this little flag detail on the end. You can find washi tape online, or at your local craft store. Beware, it's addictive!
All done, and ready to package up with some candy! 
Hope you found this to be an easy DIY craft to do with your tween. Other ways to use these would be in a photo booth, or a birthday party invite. Wouldn't it be cute to send these out, and say "hope to see you at my party" The options are endless. 
My middle son, Noah, who helped to create these for his class.
Hope you have a great Valentines Day!
XO~Gretchen